
Choose a practical finish
Plain, coloured and exposed aggregate surfaces offer different appearances. Discuss traction, maintenance and how the driveway will meet paths and garage thresholds.
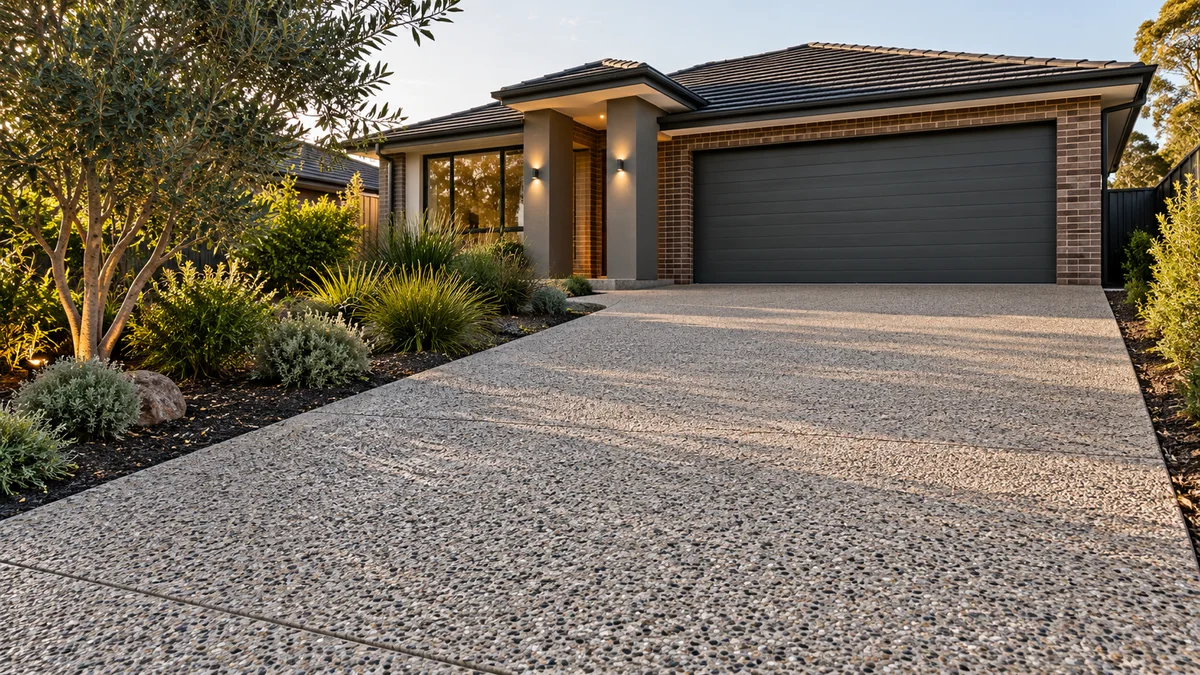
Plan a driveway around vehicle use, property levels and the desired finish, with base preparation, drainage and access during construction considered together.
Melbourne Concrete Driveway Installation projects benefit from a clear understanding of the site, the intended finish and how the work connects with the rest of the property.
A driveway connects the street to everyday life at home. Its layout should make vehicle movement practical while sitting comfortably with the entrance and surrounding landscape.
Preparation, drainage falls, edge details, material finishes and the way new work meets existing surfaces all influence the result. Consider access during construction as well as cleaning and ongoing care after completion. For this service, choose a practical finish and allow for the programme are useful matters to discuss when preparing the scope.
Share your property address, approximate dimensions and photos of the work area. Include the route from the street, any nearby structures and what you want the finished space to achieve.
Explore the details ↓A clear brief connects the material, the site and the final result.
Plain, coloured and exposed aggregate surfaces offer different appearances. Discuss traction, maintenance and how the driveway will meet paths and garage thresholds.
Excavation, base work, pouring and curing affect when the driveway can be used. Confirm alternative access and an appropriate return-to-use timetable.
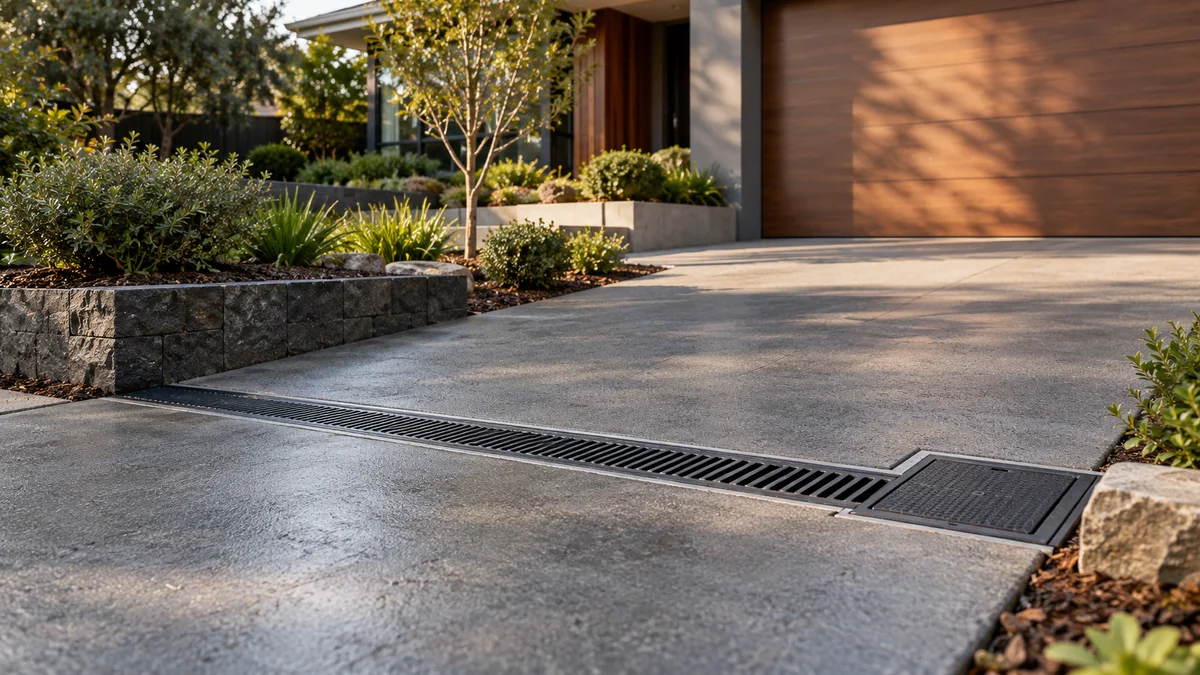
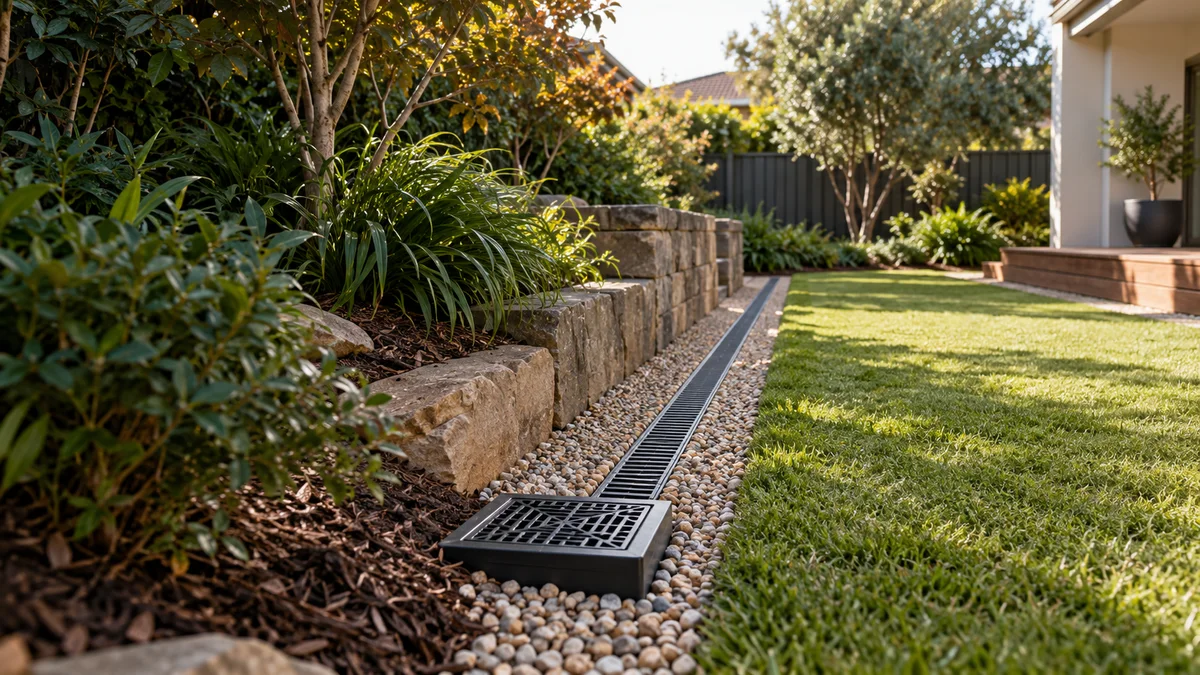
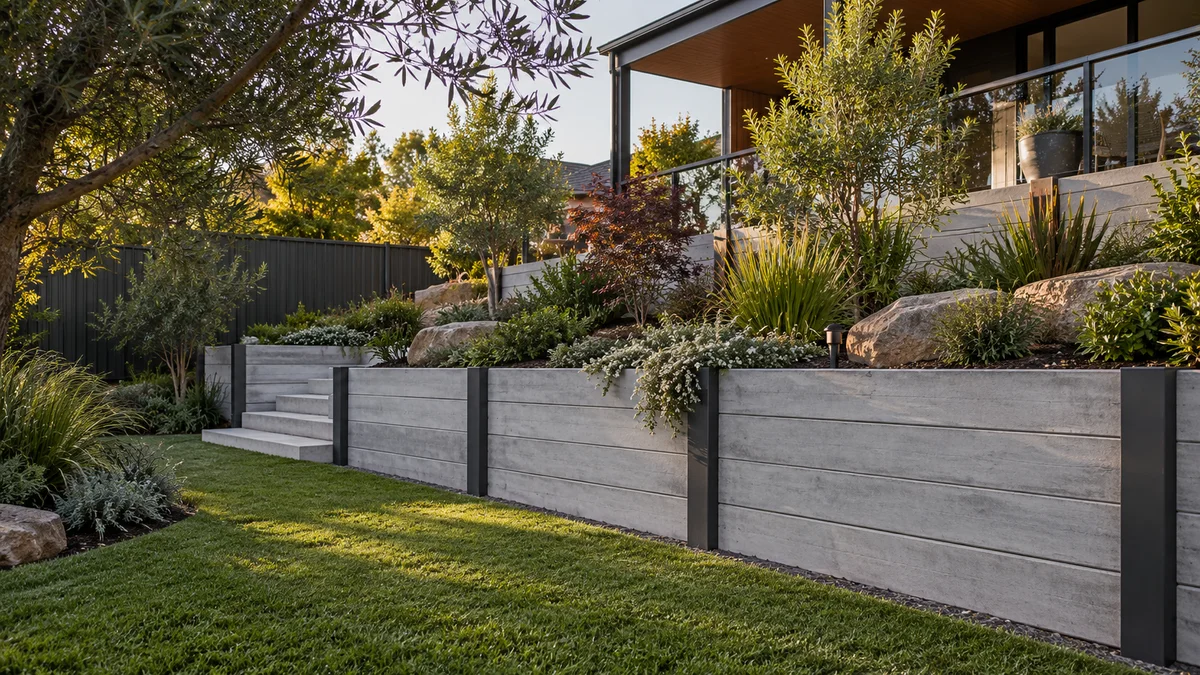
Supporting landscape and groundwork illustrations show connected project considerations, not completed work by Melbourne Retaining Walls.
The finish is the part of a driveway you notice every day, but it also decides how the surface grips in the wet and how much effort it takes to keep clean. Ask to see finished samples in daylight, not just brochure photos.
A quiet, neutral grey that sits easily with most houses. A broom or textured finish gives useful grip; a smooth trowelled surface can feel slippery when wet.
Tyre marks, oil and leaf stains show more readily on a light surface. Regular sweeping and prompt spill cleaning keep it looking even.
Colour mixed through the concrete or applied to the surface can tie the driveway to brickwork, render or paving. Texture choices are similar to plain concrete.
Colour can vary between pours and fade with sun exposure. Any sealer and its reapplication should be discussed before the colour is chosen.
The surface is washed back to reveal the stones in the mix, giving a textured, forgiving look that tends to hide marks and offers good grip.
The aggregate blend sets the character, so review a sample. The texture can hold grime in shaded areas and may suit periodic pressure cleaning.
A pattern pressed into the surface imitates pavers, stone or cobbles on a single slab, suited to a more decorative entrance.
Traction depends on the pattern and sealer, and some sealed surfaces become slick when wet. Resealing is usually part of the long-term upkeep.
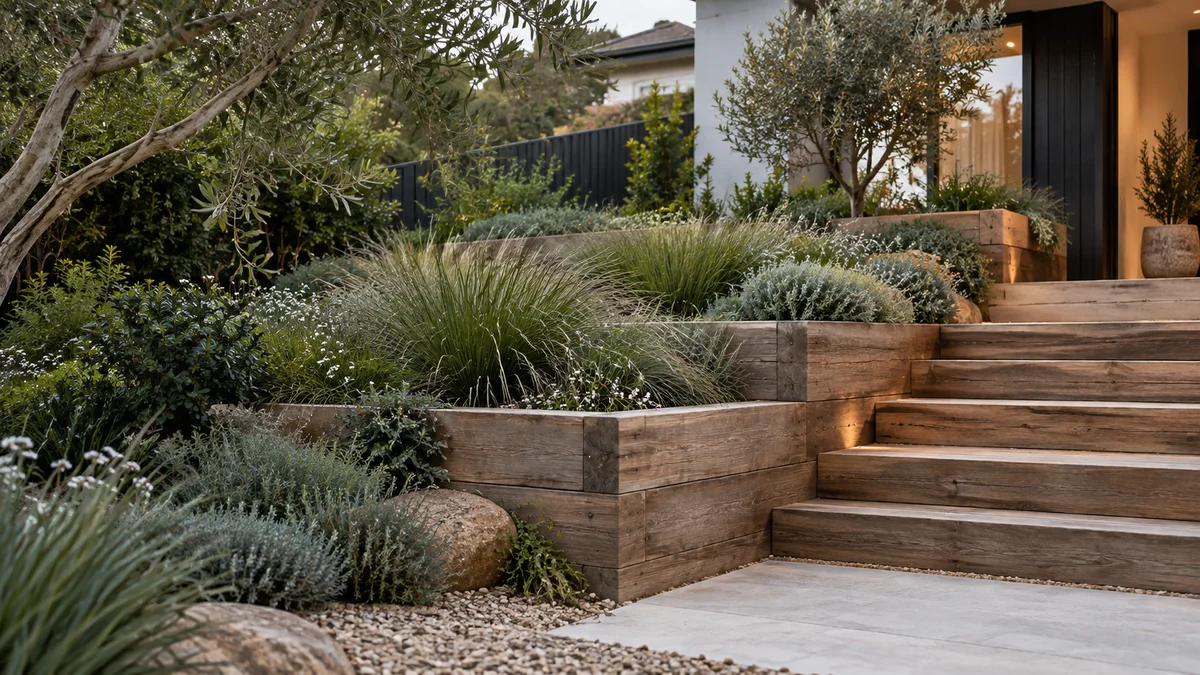
Concrete shrinks and moves as it cures and ages. Control joints give that movement a planned place to crack, rather than leaving it to chance across the middle of a panel.
Joint spacing and depth are set by the design and the concrete specification, but the layout is something you can influence. Joints that line up with the garage door edges, the house corners or the path junctions tend to read as part of the design. Joints placed without reference to anything nearby can look like afterthoughts.
Ask to see a joint plan before the pour, particularly on a driveway with curves, a change of direction or a narrow neck where cracking is more likely. On a decorative finish, check whether joints will be sawn or tooled, as this affects the look of the lines.
Every property has different constraints. Use these steps to prepare a useful discussion about concrete driveway installation.
Send the address, measurements and access photos, plus any existing drawings or reports.
Discuss the options above, any design input, drainage connections and the responsibilities for approvals.
Check preparation, materials, installation, disposal and reinstatement. Agree exclusions and timing before work is scheduled.
The crossover is the section of driveway that runs from the road, across the nature strip and footpath, to your property boundary. It sits within the road reserve rather than on your property, so its design is not simply a matter of your own preferences.
Constructing or altering a vehicle crossing generally requires a permit from the local council, and requirements vary by council. Conditions can cover the crossing’s position, its width, the kerb treatment, the footpath levels and the distance from street trees, drainage pits and service pits. A council may also specify the finish, which can differ from the driveway you choose inside the boundary.
If the driveway layout depends on a new or widened crossing, confirm the council’s position before the design is finalised. Check who is responsible for lodging the application and arranging any inspection, and make sure the quote states whether the crossover, kerb work and footpath reinstatement are included.
Start planning with the details that matter.
Ask about your project ↗Follow the project-specific guidance given for the concrete and conditions. Vehicle access should not be based on a universal waiting period.
For this work, choose a practical finish and allow for the programme are useful starting points. Site access, dimensions, existing conditions, disposal and any specialist requirements also need to be reflected in the scope.
Most driveway problems show up at the edges, where the new slab meets something that was already there.
The driveway should meet the garage floor without creating a lip, a trip edge or a path for water to run inside. Existing floor levels, door seals and any steel angle at the opening all need checking before finished levels are set.
Surface water should be directed away from the house, towards grated drains, garden areas or the street as the design allows. Where the driveway runs beside walls, check that weep holes and subfloor vents are not covered.
Where the driveway meets a front path or side passage, the junction should feel like one surface rather than two slabs butted together. Agree the finish, the joint and any step at that point. A matching concrete path can be planned at the same time.
The finished edge of the slab should sit neatly against lawn, planting or a low retaining edge. Allow for how soil and mulch will settle against it, and for any irrigation or lighting cables that need to cross beforehand.
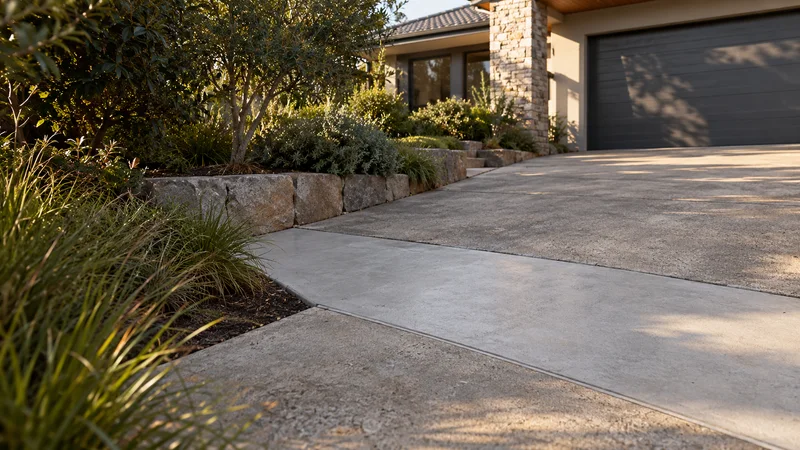
Assess cracks, surface wear and uneven sections before choosing a repair, comparing local treatment with replacement where the underlying problem demands it.
Learn more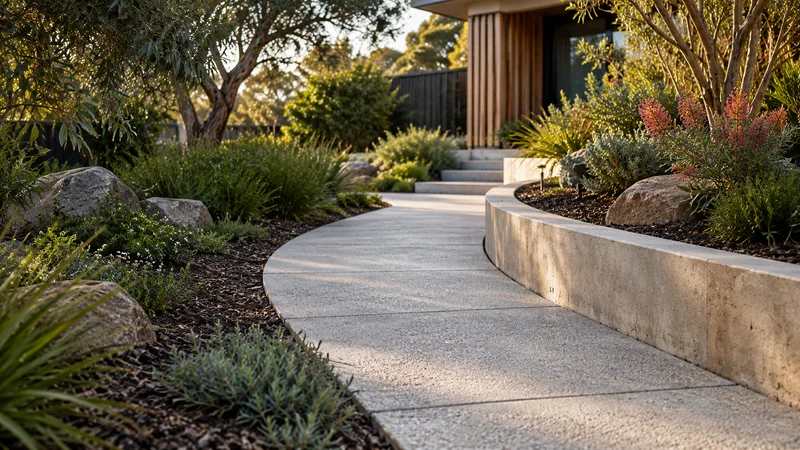
Paths & paving in Melbourne: connect garden terraces with suitable materials, levels, drainage, base preparation and maintainable finishes.
Learn more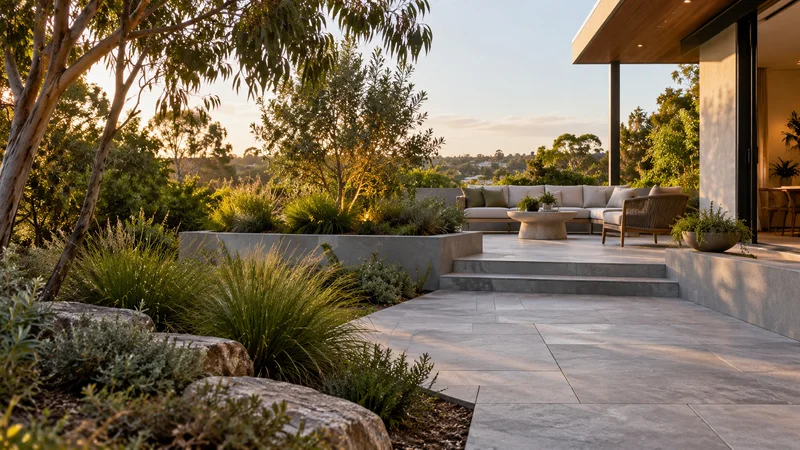
Shape an outdoor living area with coordinated levels, paving and edges, considering furniture, shade, drainage and the connection back to the home.
Learn moreShare your ideas, your site and what you want to achieve.